Gutters are an essential part of your home's exterior, helping to direct rainwater away from the foundation and prevent damage. Regular maintenance is crucial to ensure they function correctly. In this guide, we'll walk you through the process of cleaning your gutters with a pressure washer, a quick and effective method to keep them clean and clog-free.
Why Use a Pressure Washer for Gutter Cleaning?
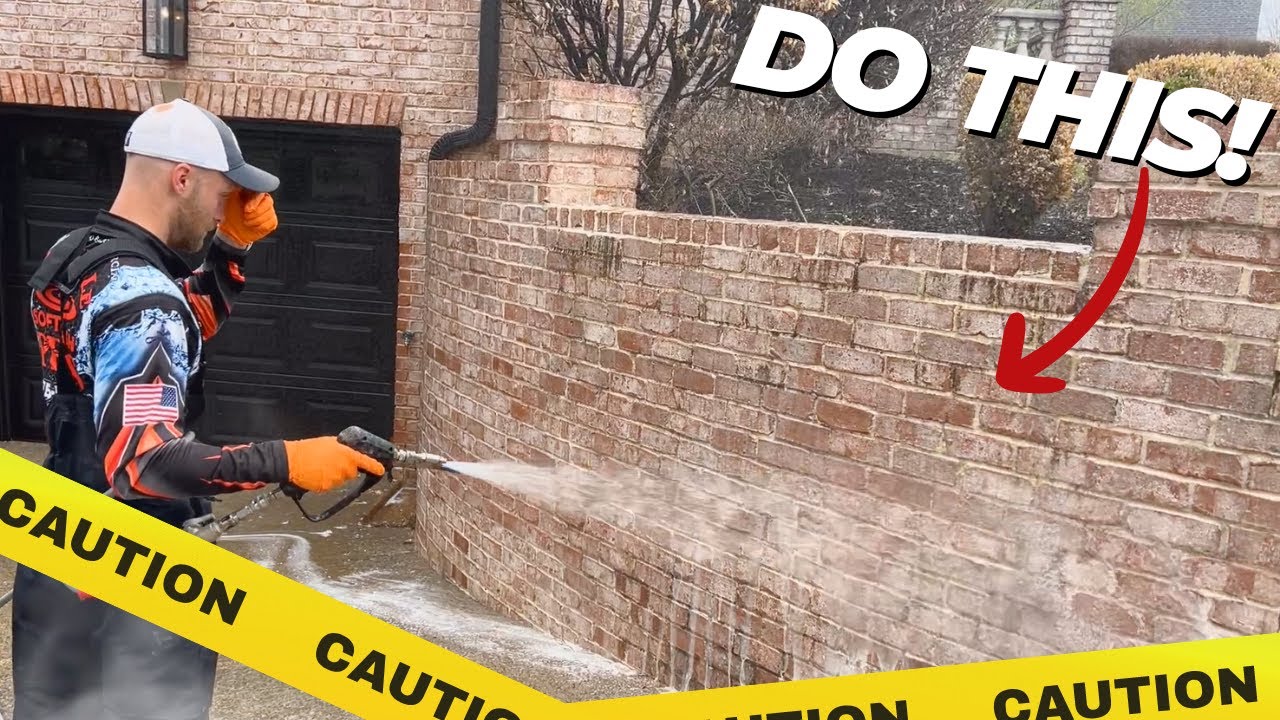
Pressure washing is a popular method for gutter cleaning due to its efficiency and effectiveness in removing dirt, debris, and clogs. It uses high-pressure water to blast away buildup, leaving your gutters clean and free-flowing.
Preparation and Safety Measures
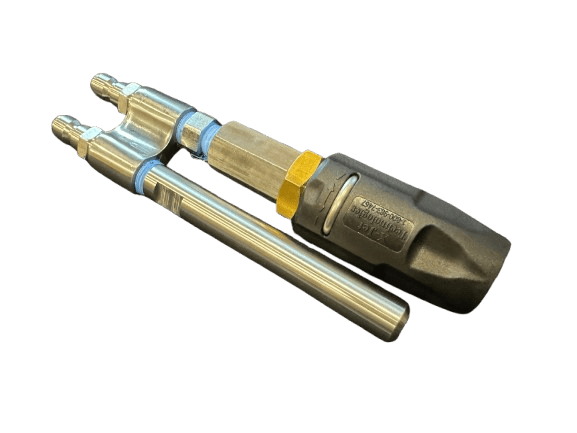
Before you begin, make sure to gather all the necessary supplies, including a pressure washer, extension wand, safety gear such as goggles and gloves, and a stable ladder. Safety should always be your top priority when working at heights.
Step 1: Clear the Area
Start by removing any obstacles around the perimeter of your house that may hinder your movement and access to the gutters. Ensure there are no loose objects that could be damaged by the pressure washer.
Step 2: Inspect and Repair
Thoroughly inspect your gutters for any damage or loose components. Make any necessary repairs before proceeding with the cleaning process to avoid causing further issues.
Step 3: Set Up the Pressure Washer
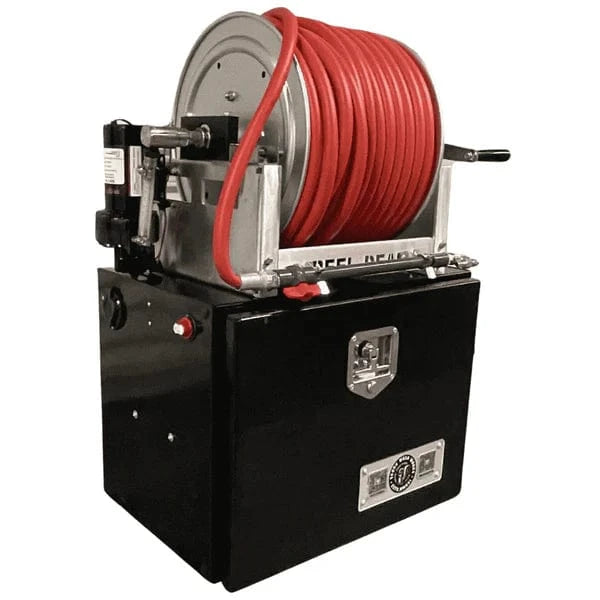
Connect the pressure washing equipment to a water source and power outlet. Adjust the settings to a suitable pressure level for gutter cleaning, typically using a lower pressure to avoid damaging the gutters.
The Cleaning Process
Now that you're prepared, it's time to start cleaning your gutters:
Step 4: Start from the Downspout
Begin near the downspout and work your way along the gutter in small sections. Direct the pressure washer wand towards the downspout to push debris in that direction.
Step 5: Use a Sweeping Motion
Move the wand in a sweeping motion to dislodge dirt and leaves from the bottom of the gutter. Work systematically to cover the entire length of the gutter.
Step 6: Clear Tough Clogs
For stubborn clogs, adjust the pressure washer to a higher setting and focus the stream directly on the blockage. Be careful not to use excessive force, as it may damage the gutter.
Step 7: Rinse and Repeat
After clearing each section, rinse the gutter with water to remove any remaining debris. Continue this process until all sections are clean and free of clogs.
Post-Cleaning Maintenance
Once you've finished cleaning your gutters, there are a few additional steps to ensure they remain in optimal condition:
Step 8: Check for Leaks
Inspect the gutters for any leaks or signs of damage. Address any issues promptly to prevent water from seeping into your home's foundation.
Step 9: Trim Overhanging Branches
Trim back any tree branches that hang over your roof to prevent leaves and debris from accumulating in the gutters. This proactive measure can reduce the frequency of gutter cleaning.
Step 10: Schedule Regular Maintenance
Make gutter cleaning a part of your home maintenance routine. Depending on your location and surrounding vegetation, consider scheduling cleanings at least twice a year to prevent clogs.
Benefits of Soft Washing for Gutters
Soft washing is an alternative method for cleaning gutters that uses low-pressure water combined with specialized chemicals to remove dirt and stains gently.
Step 11: Soft Wash Equipment
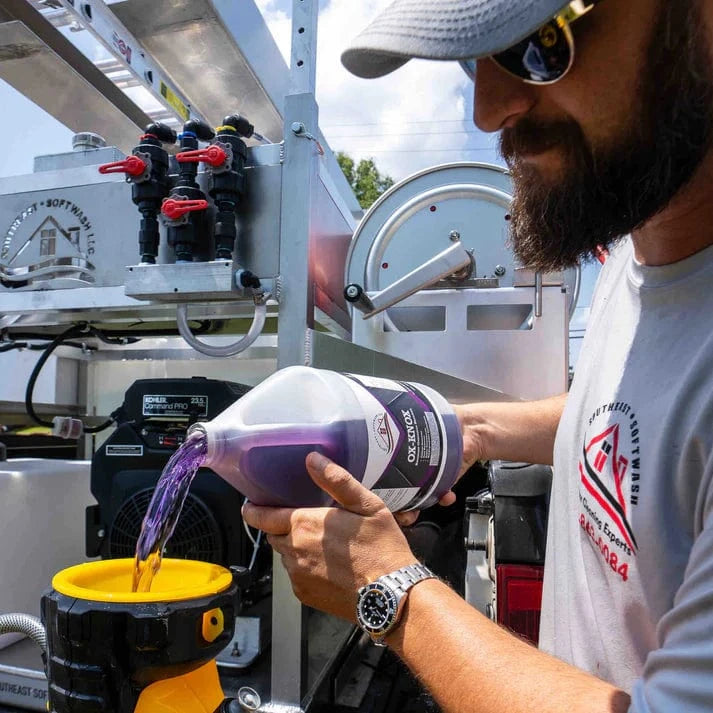
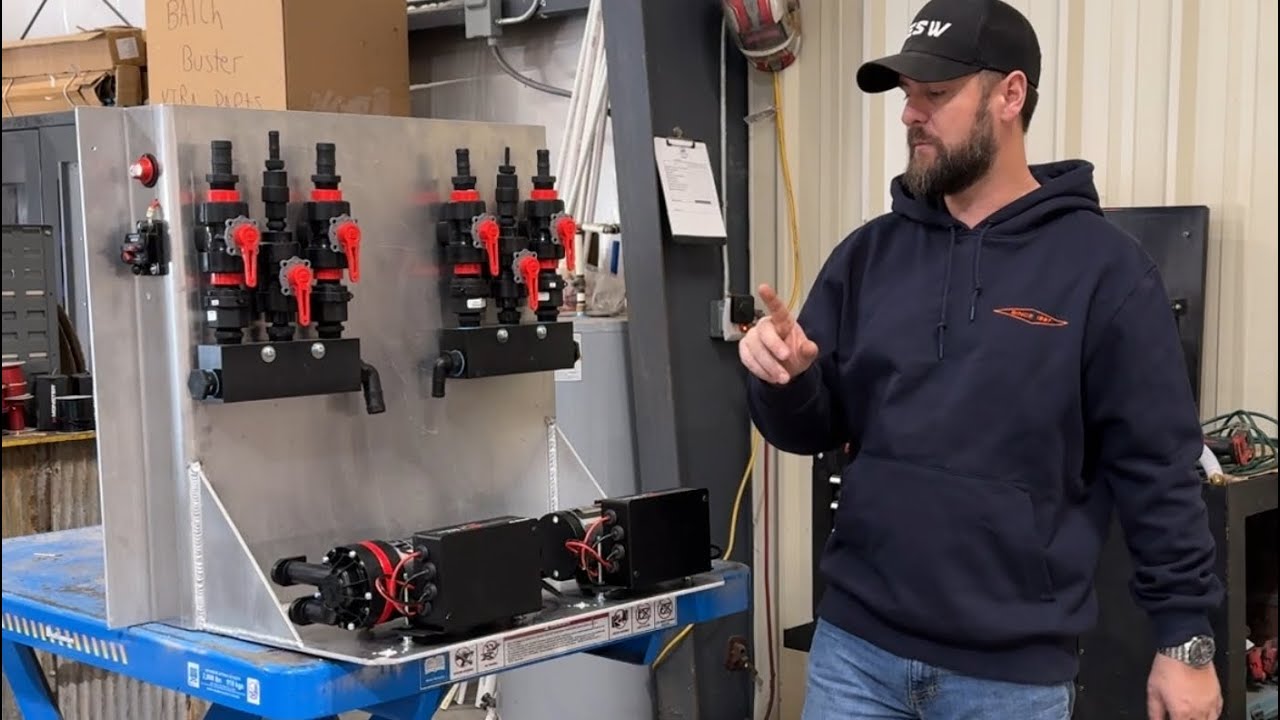
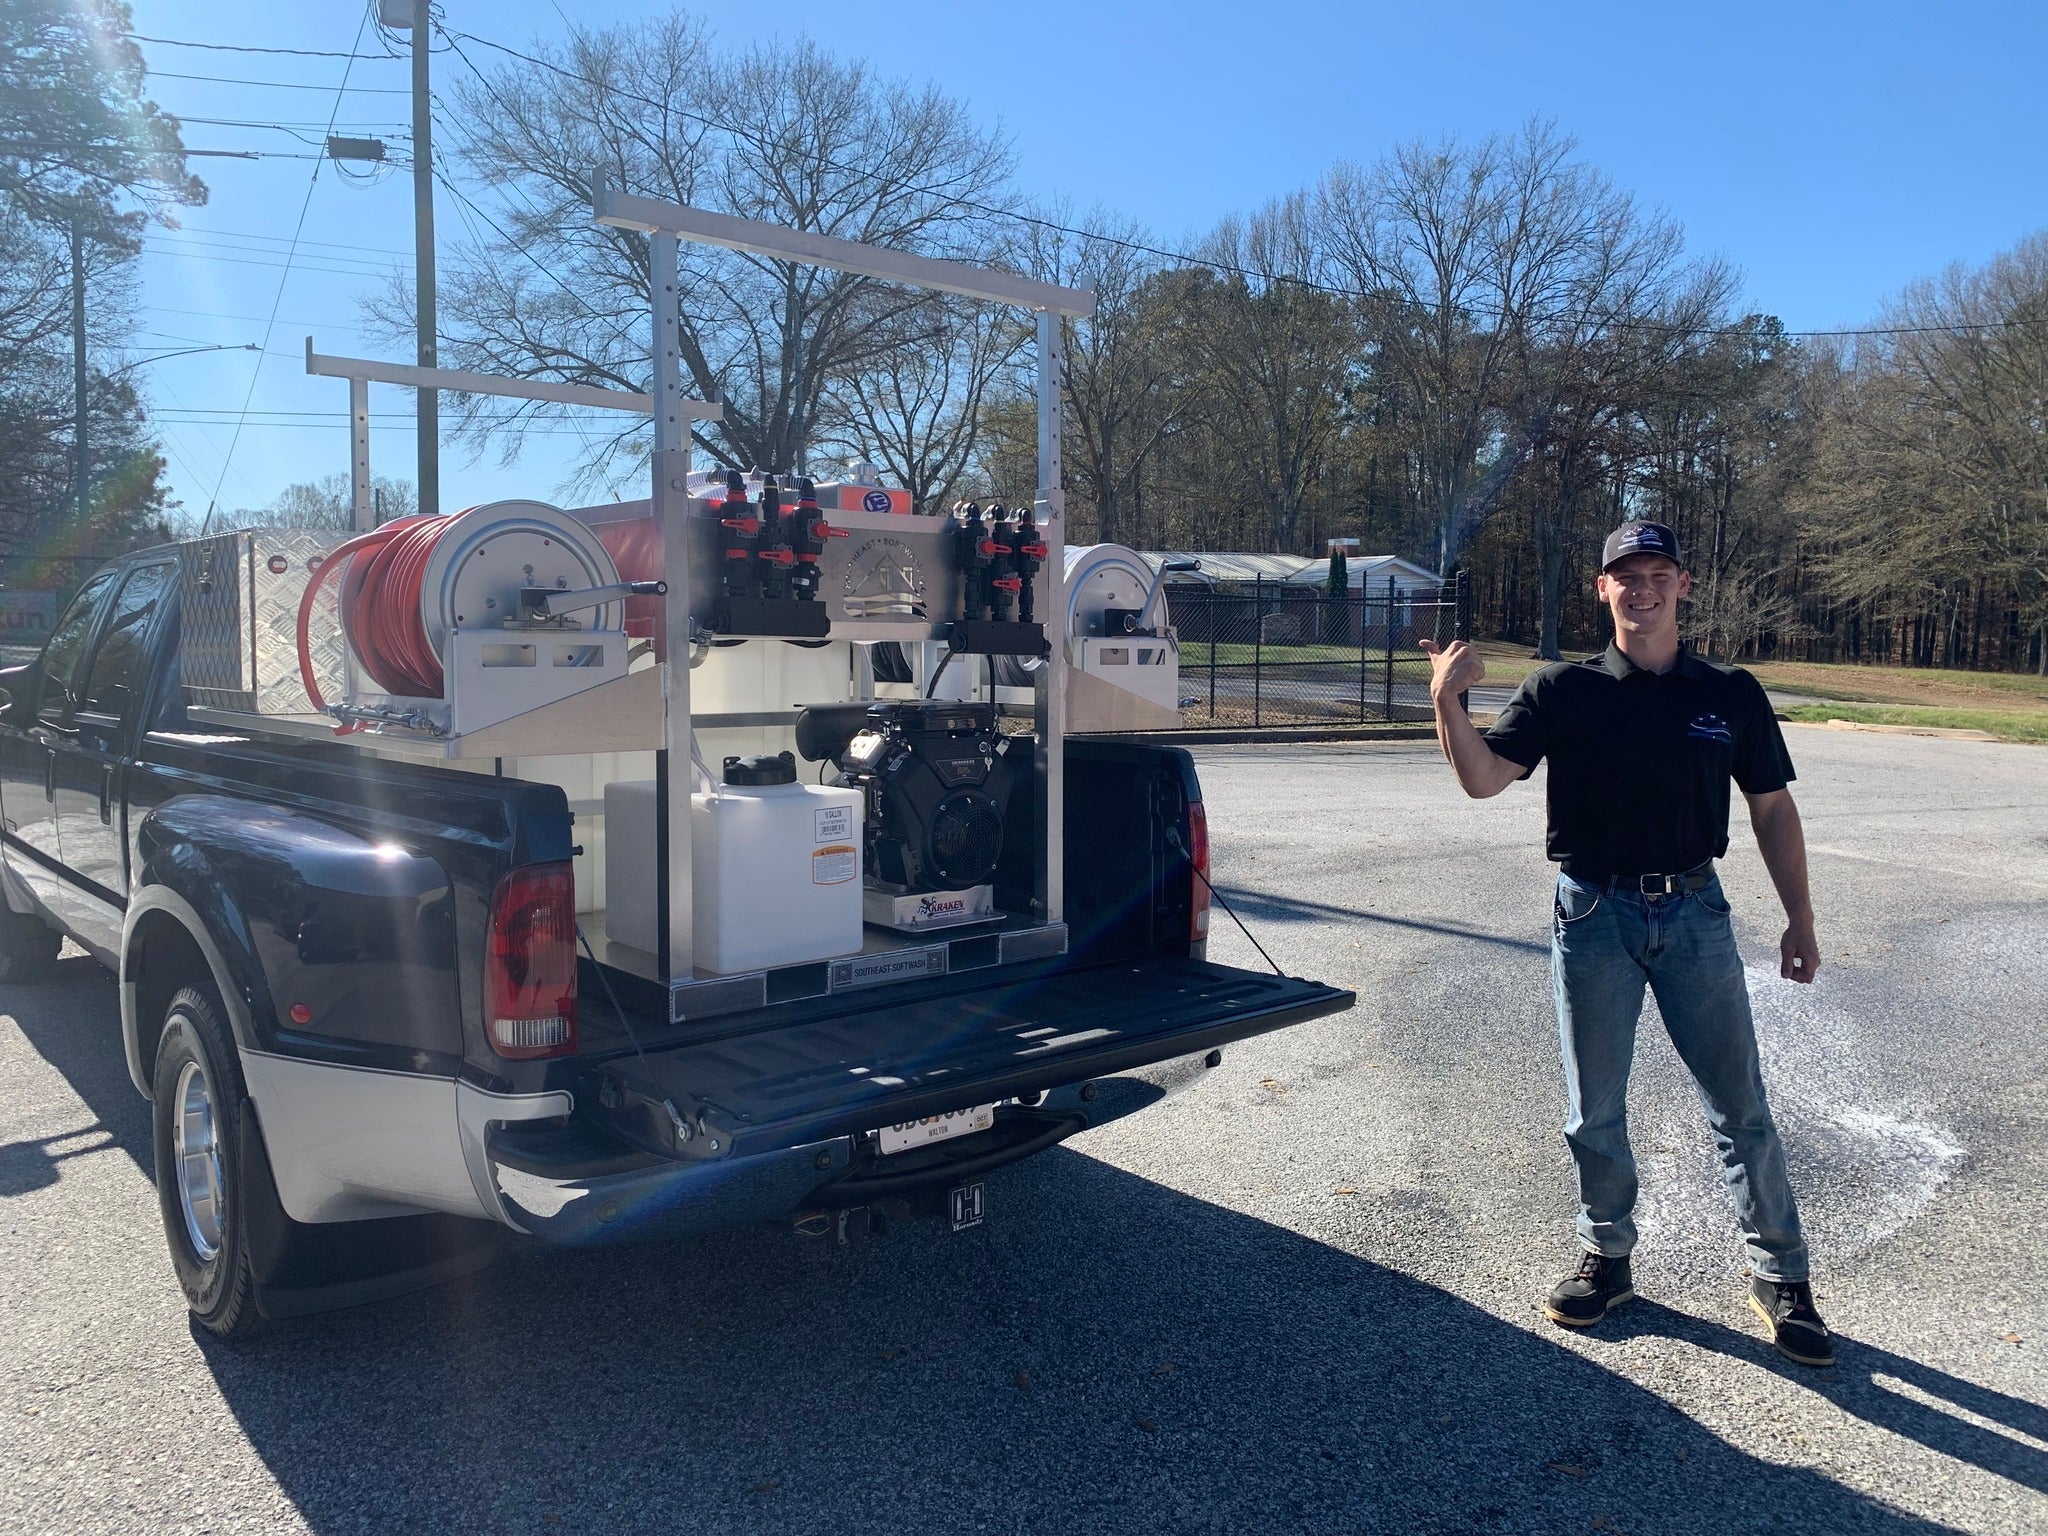
Explore soft wash equipment and chemicals tailored for gutter cleaning. These products are designed to be gentle on the gutters while effectively removing grime and buildup.
Step 12: Combined Approach
Consider incorporating both pressure washing and soft washing into your gutter maintenance routine. This dual approach can help you achieve optimal results and maintain the integrity of your gutters for years to come.
With these easy steps and techniques, cleaning your gutters with a pressure washer can be a straightforward and rewarding task. Ensure you follow safety precautions and regular maintenance to keep your gutters functioning efficiently and protect your home from potential water damage.


