Is your driveway looking dull and stained? Are you tired of dealing with stubborn dirt, grime, and algae growth? Well, it’s time to give your driveway a makeover with the power of pressure washing! In this blog post, we will guide you through the proper techniques of pressure washing your driveway to restore its pristine appearance and enhance your home's curb appeal.
Why Pressure Washing is the Way to Go
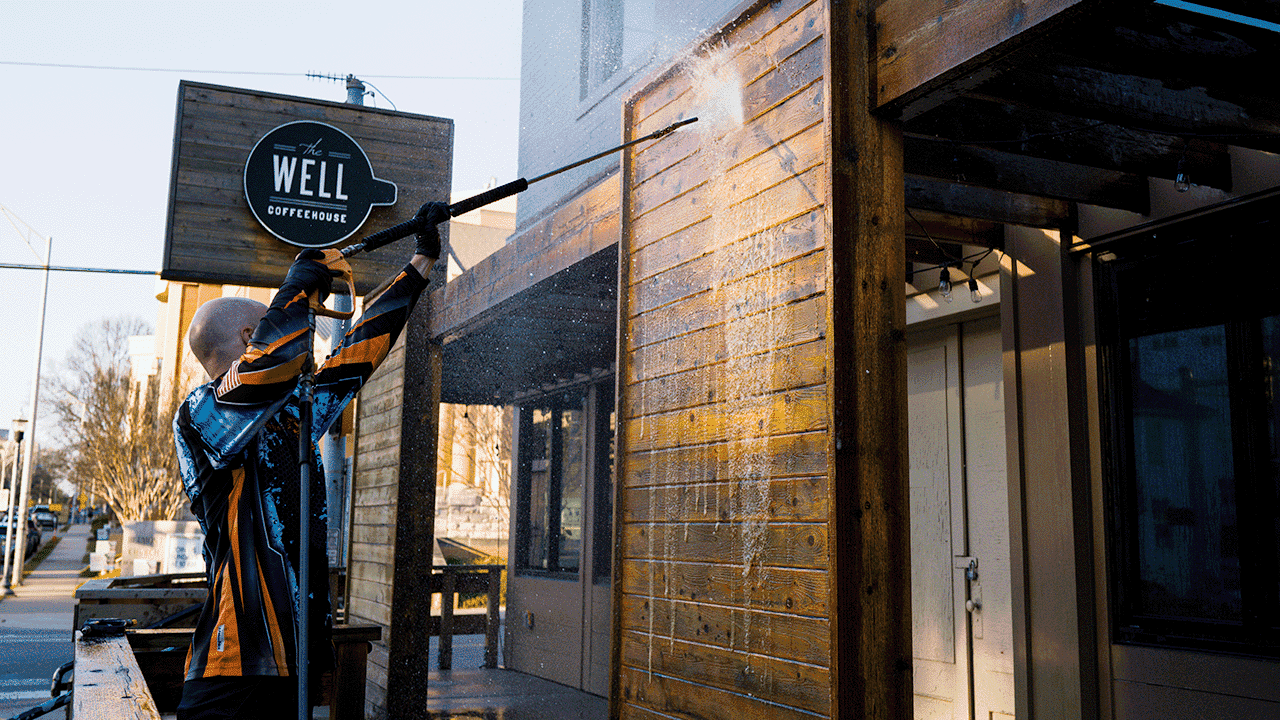
Pressure washing is a highly effective cleaning method that utilizes high-pressure water spray to remove dirt, grime, mold, mildew, algae, and other impurities from various surfaces, including driveways. Compared to traditional cleaning methods, such as scrubbing or using chemical cleaners, pressure washing offers several benefits:
- Efficiency: Pressure washing can save you significant time and effort. The powerful stream of water quickly dislodges dirt and grime, allowing you to clean large areas in a fraction of the time.
- Thorough Cleaning: The high-pressure water can reach deep into the pores of your driveway surface, removing even the toughest stains and contaminants.
- Gentle on Surfaces: Contrary to popular belief, pressure washing is gentle on most surfaces when done correctly. It won't damage concrete, pavers, or asphalt when using appropriate techniques and equipment.
- Enhance Property Value: A clean and well-maintained driveway significantly improves the appearance of your property, boosting its curb appeal and potentially increasing its value.
Gather the Right Pressure Washing Equipment
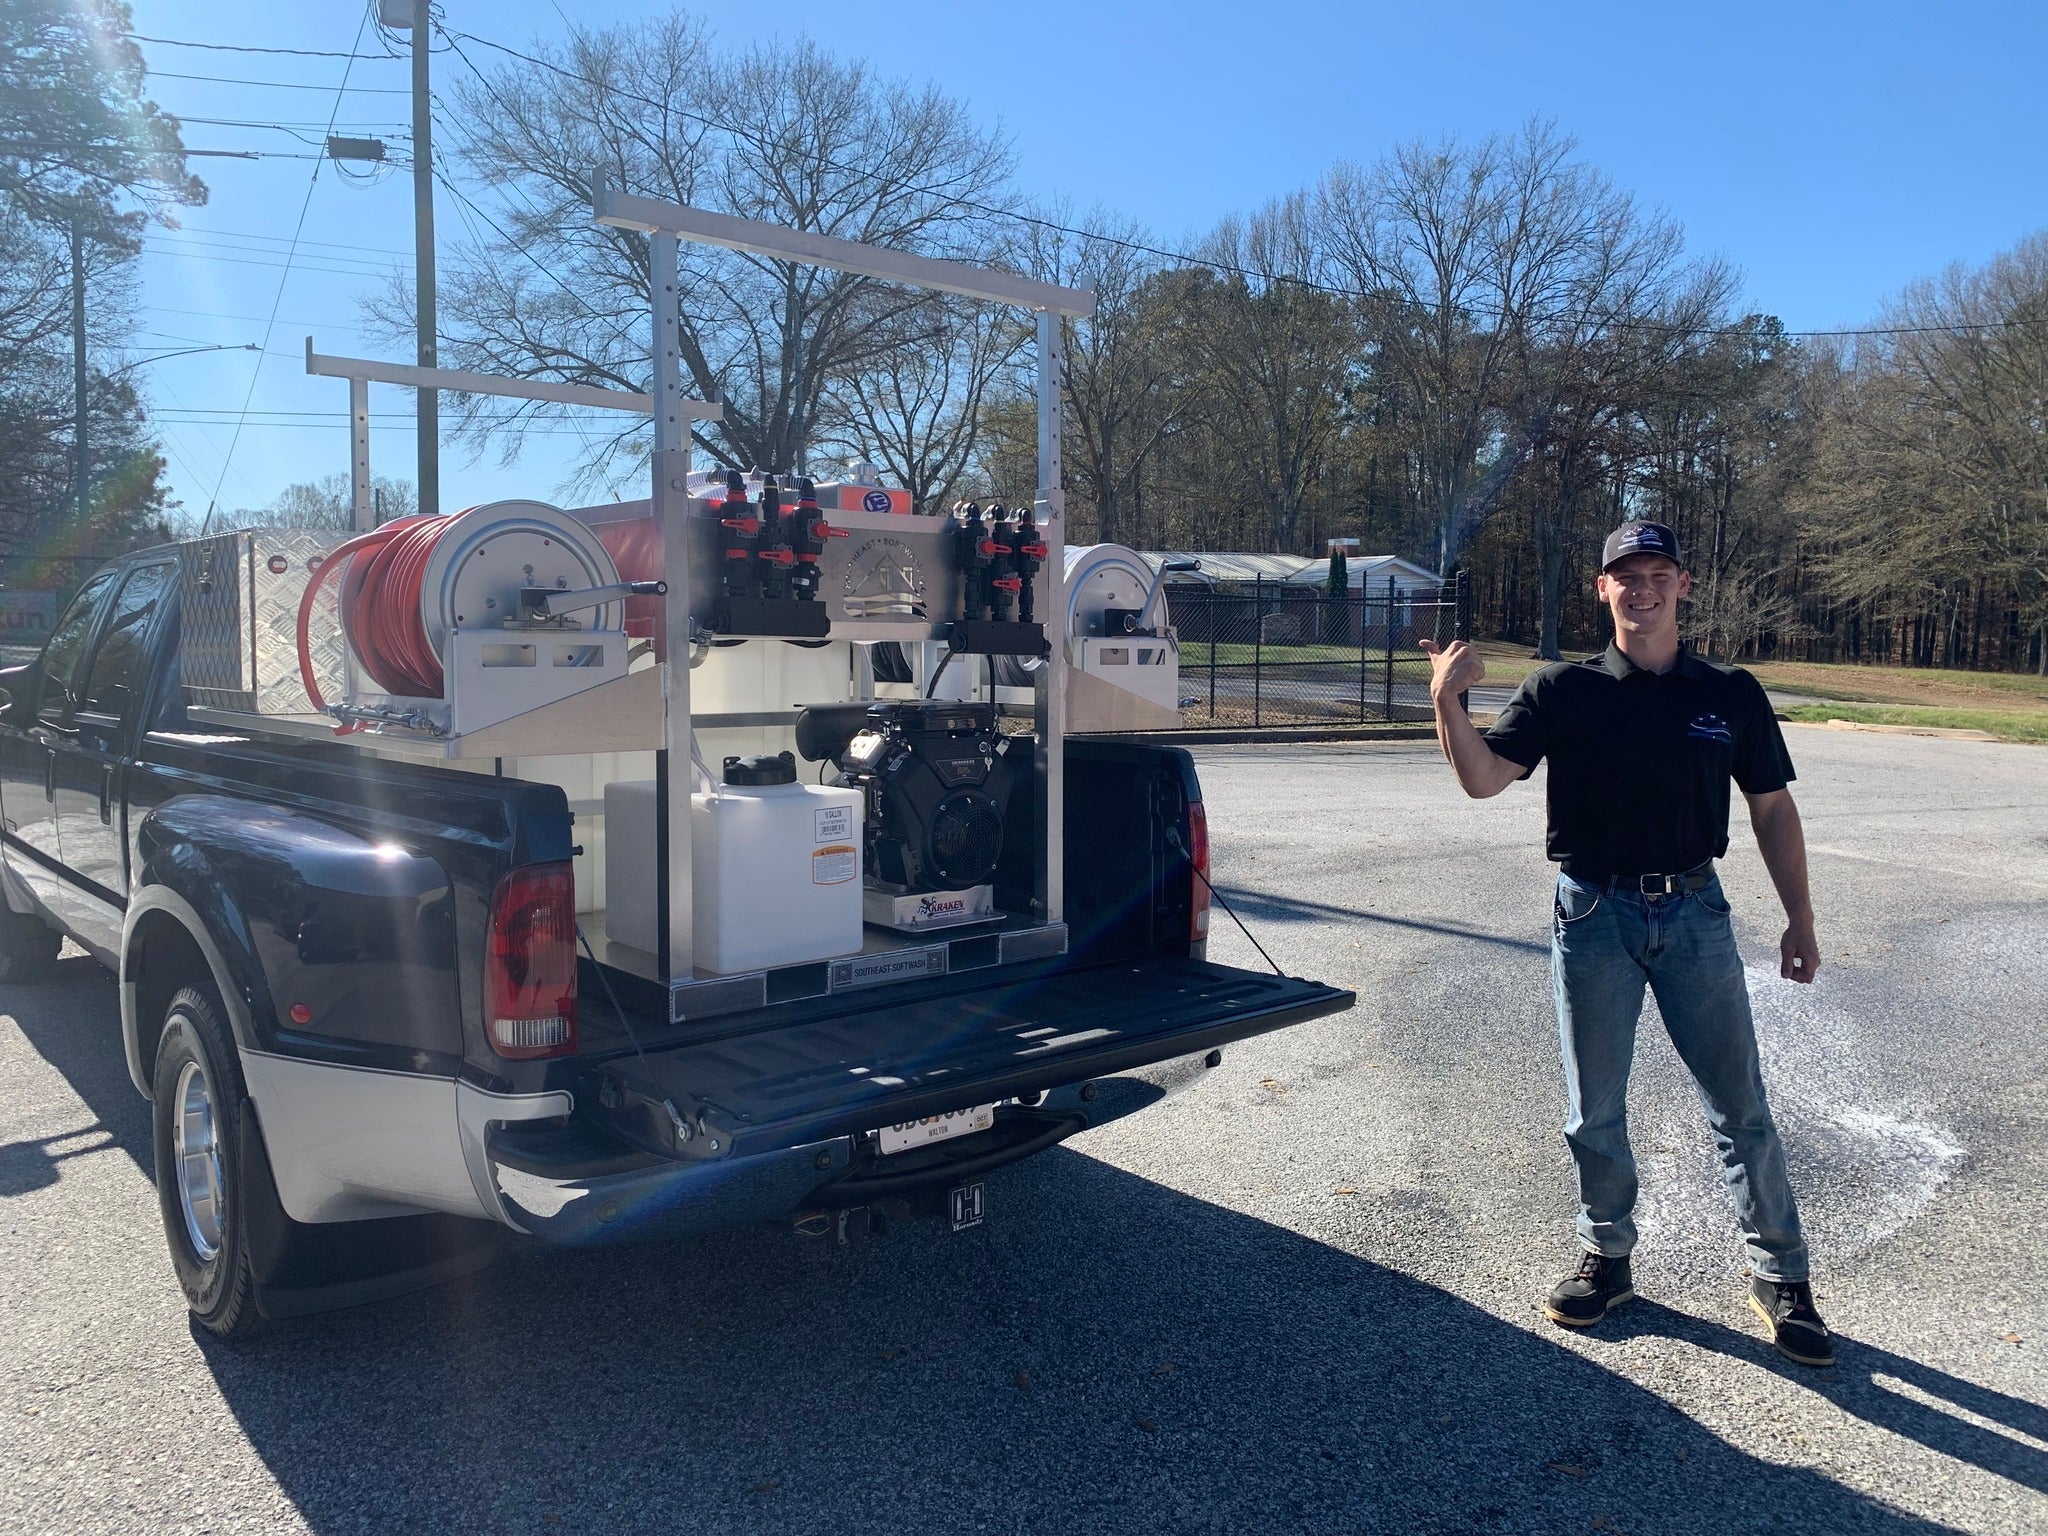
Before you begin pressure washing your driveway, it’s crucial to gather the necessary equipment. Here's a checklist to ensure you have everything you need:
- Pressure Washer: Invest in a reliable and powerful pressure washer suitable for driveway cleaning. Opt for a washer with an adequate PSI (pounds per square inch) and GPM (gallons per minute) for efficient cleaning.
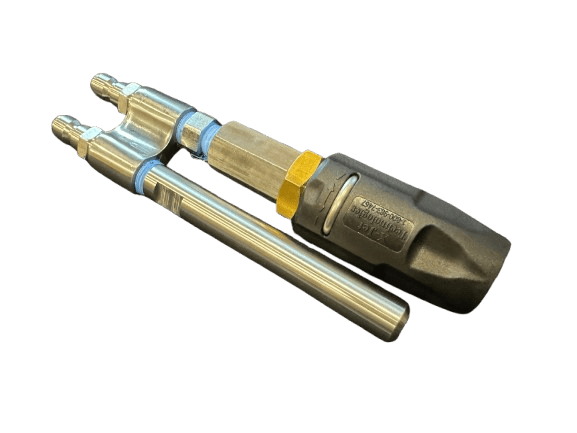
- Nozzles: Use a wide-angle or fan nozzle for general cleaning, and a rotary nozzle for tough stains and hard-to-reach areas.
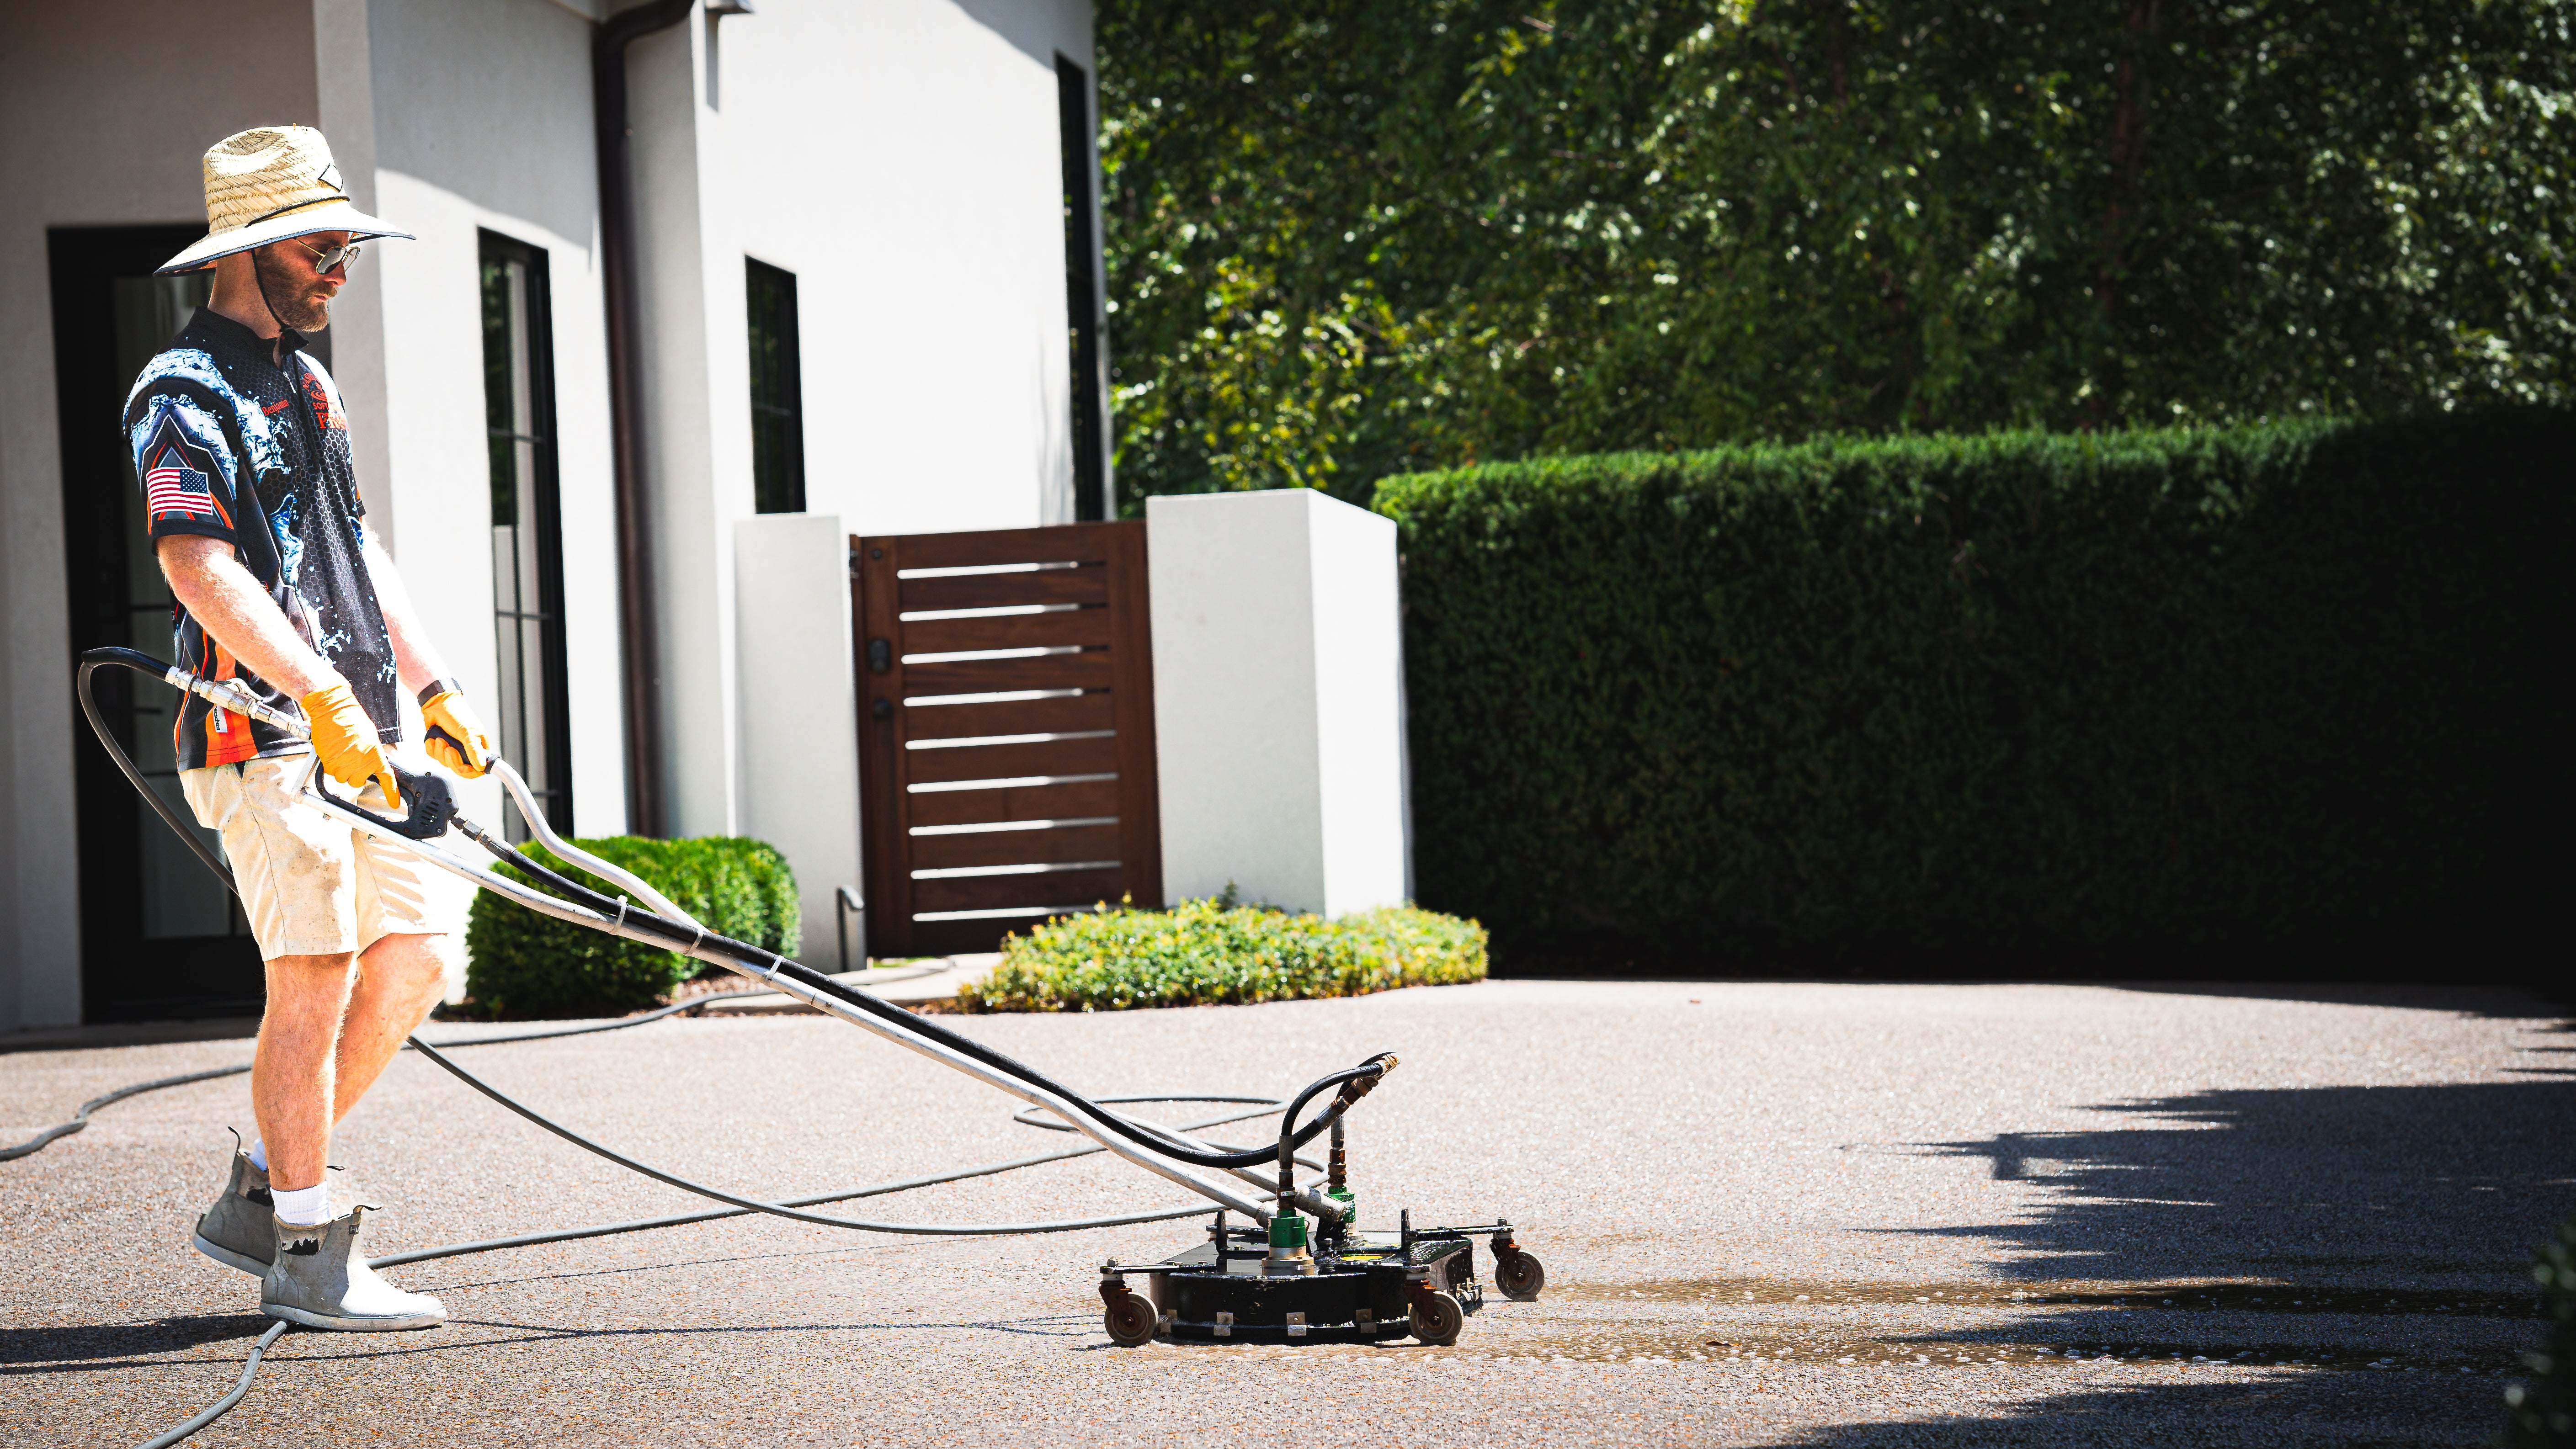
- Surface Cleaner: An attachment specifically designed for driveway cleaning will provide even and consistent cleaning results.
- Safety Gear: Protect yourself with safety goggles, gloves, long pants, and closed-toe shoes to prevent injury from debris and chemicals.
- Pressure Washing Chemicals: Depending on the level of dirt and stains, choose appropriate pressure washing chemicals that are safe for the environment and your driveway surface.
- Water Source: Ensure you have a reliable water supply and sufficient length of hose to reach the desired cleaning area.
Preparing for Pressure Washing
Preparation is key to achieving successful pressure washing results. Follow these steps to prepare your driveway before starting the pressure washing process:
Clear the Area
Remove any obstacles, vehicles, or objects from your driveway to allow free movement during the cleaning process. Trim back any vegetation near the driveway's edges to prevent damage and facilitate a thorough clean.
Sweep and Pre-Rinse
Before you begin pressure washing, sweep the driveway surface to remove loose dirt, leaves, and debris. Pre-rinse the area with a garden hose to dampen the surface and loosen any stubborn grime.
Apply Pressure Washing Chemicals
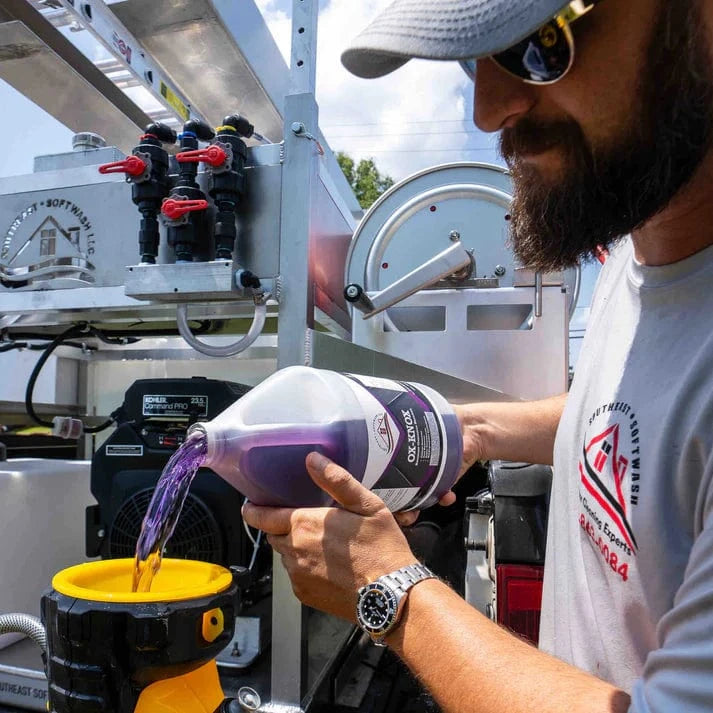
If your driveway has stubborn stains or algae growth, applying pressure washing chemicals can enhance the cleaning process. Be sure to choose safe and environmentally-friendly chemicals. Follow the manufacturer's instructions for dilution ratios and application methods.
Proper Pressure Washing Techniques
Now that you've prepared your driveway, it's time to put your pressure washing equipment to use. Follow these techniques for effective and safe pressure washing:
Maintain the Right Pressure
Adjust the pressure washer's settings according to the type of surface you are cleaning. Lower pressure settings are suitable for delicate surfaces, while higher pressures are more effective for tough stains and concrete driveways.
Keep a Safe Distance
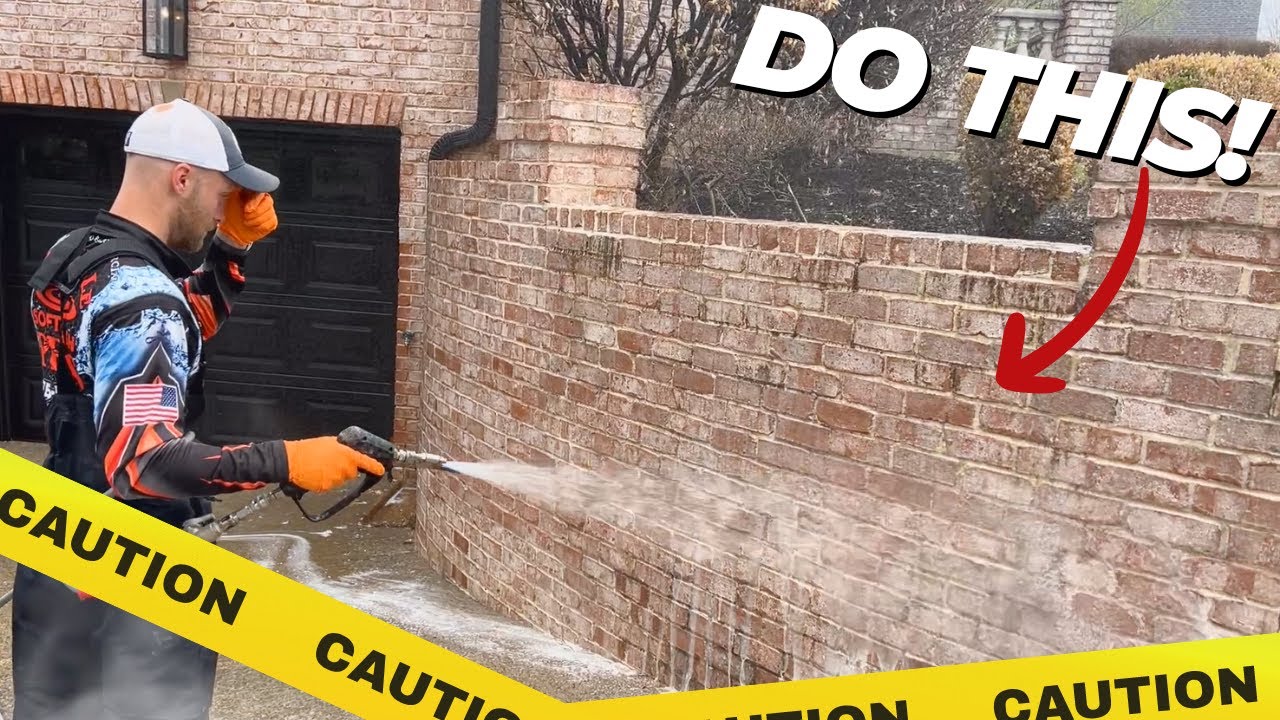
Maintain a safe distance between the pressure washer nozzle and the driveway surface. Start with a distance of about 12 to 18 inches and gradually move closer if necessary. Getting too close can cause damage to the surface.
Even and Overlapping Strokes
Move the pressure washer nozzle in a sweeping motion, ensuring that each stroke overlaps the previous one. This technique helps to achieve even cleaning and prevent streaking or missed spots.
Clean from Top to Bottom
Begin pressure washing from the highest point of your driveway and work your way down. This way, the dirt and debris will flow downward, preventing recontamination of cleaned areas.
Post-Pressure Washing Care
Once you have completed pressure washing your driveway, there are a few additional steps you can take to maintain the cleanliness and extend the results:
Remove Excess Water
Use a squeegee or a broom to remove any excess water from the surface. This helps prevent water spots and allows for quicker drying.
Apply Sealant
To protect your newly cleaned driveway and enhance its longevity, consider applying a sealant. A sealant can prevent future stains, minimize cracking, and keep the surface looking fresh.
Regular Maintenance
To prolong the effects of pressure washing, perform regular maintenance by sweeping your driveway, removing debris promptly, and addressing any stains or spills as they occur.
Enhance Your Home's Curb Appeal Today!
Don't let a dirty and stained driveway bring down the overall appearance of your home. By mastering the art of pressure washing, you can restore your driveway to its former glory and be the envy of your neighbors. Remember to follow proper techniques, utilize the right pressure washing equipment, and prioritize safety in every step. With regular maintenance and a touch of soft wash equipment, your driveway will remain fresh and inviting for years to come!


