


Whether you're a homeowner looking to freshen up your curb appeal or a young entrepreneur starting a pressure washing business, learning how to clean a driveway properly is one of the most valuable exterior cleaning skills you can master.
In this guide, we’re breaking down a professional-grade driveway cleaning process performed at a multi-million-dollar property using commercial equipment, proper chemical mixing, and efficient techniques that avoid costly mistakes like etching or streaking.
Let’s walk through the 3-step process that will help you clean driveways efficiently, safely, and with results that wow.
🚀 Why Learn Proper Driveway Cleaning?
Driveways take a beating—from cars, weather, mold, algae, and more. Whether it’s brushed concrete or exposed aggregate, the surface gets dirty, and clients want it looking fresh again.
But the goal isn’t just “make it clean.” You need to:
-
Avoid scarring or etching the concrete
-
Kill organic growth (not just blast it)
-
Rinse thoroughly to avoid striping and shadows
-
Work quickly and efficiently for maximum profitability
🧪 Step 1: Pre-Treat the Driveway With a SH Mix
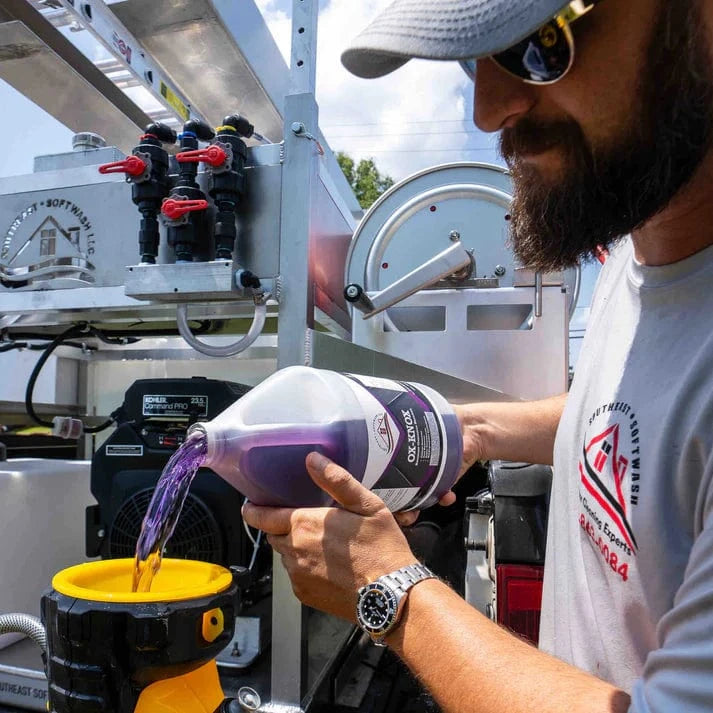
The first step is to treat the surface with a sodium hypochlorite (SH) solution to kill mold, algae, and other organic growth before you put a surface cleaner on it.
Here's how we did it:
-
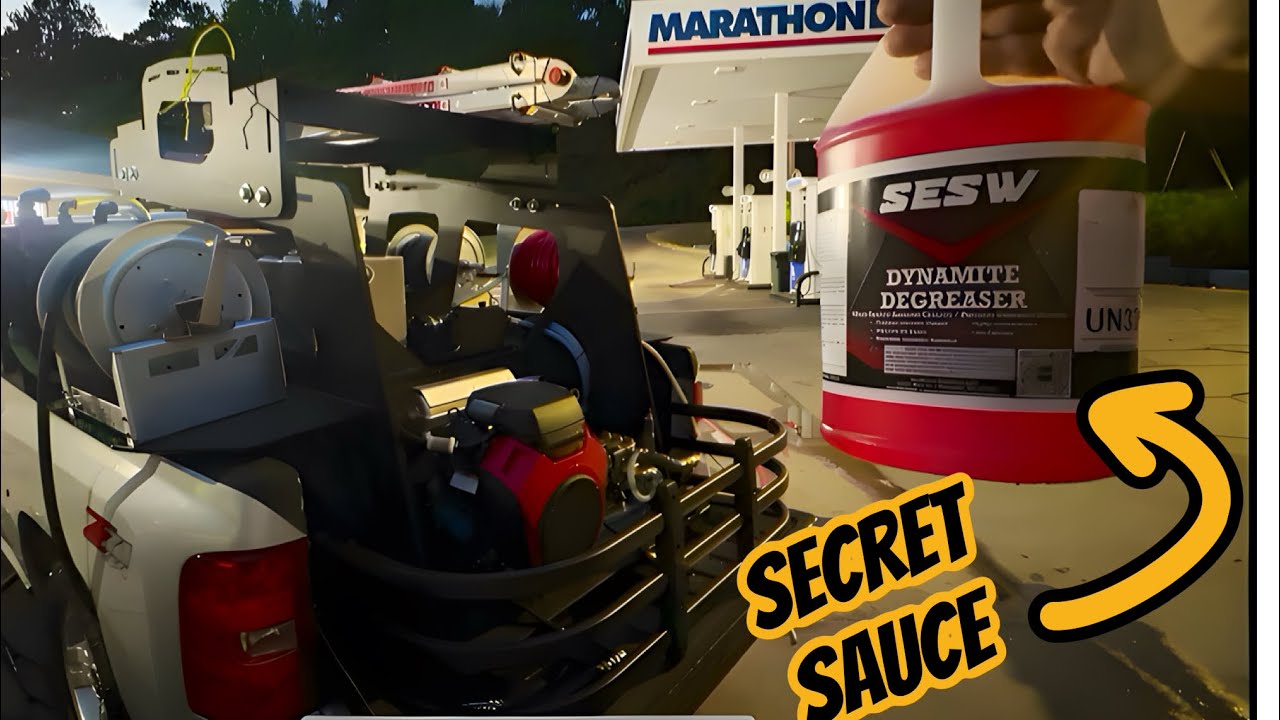
Mix ratio: ~4% SH (sodium hypochlorite)
-
This is stronger than homeowner-grade bleach and ensures deep cleaning
-
Spray the mix evenly over the concrete and allow dwell time before surface cleaning
💡 Pro Tip: A 50/50 mix of store-bought bleach and water gets you close to 3% SH strength—strong enough for many residential jobs.
This step softens and breaks down the grime, allowing the surface cleaner to do its job more effectively and reduces the chance of streaks.
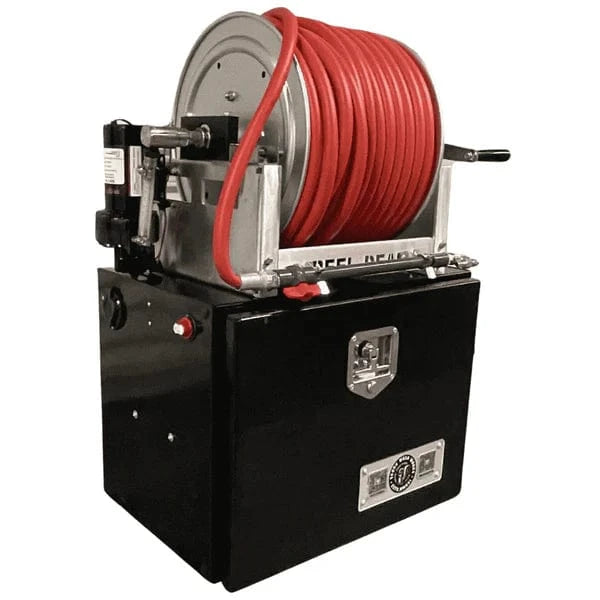
🌀 Step 2: Surface Clean With the Right Equipment
Now comes the fun part: surface cleaning.
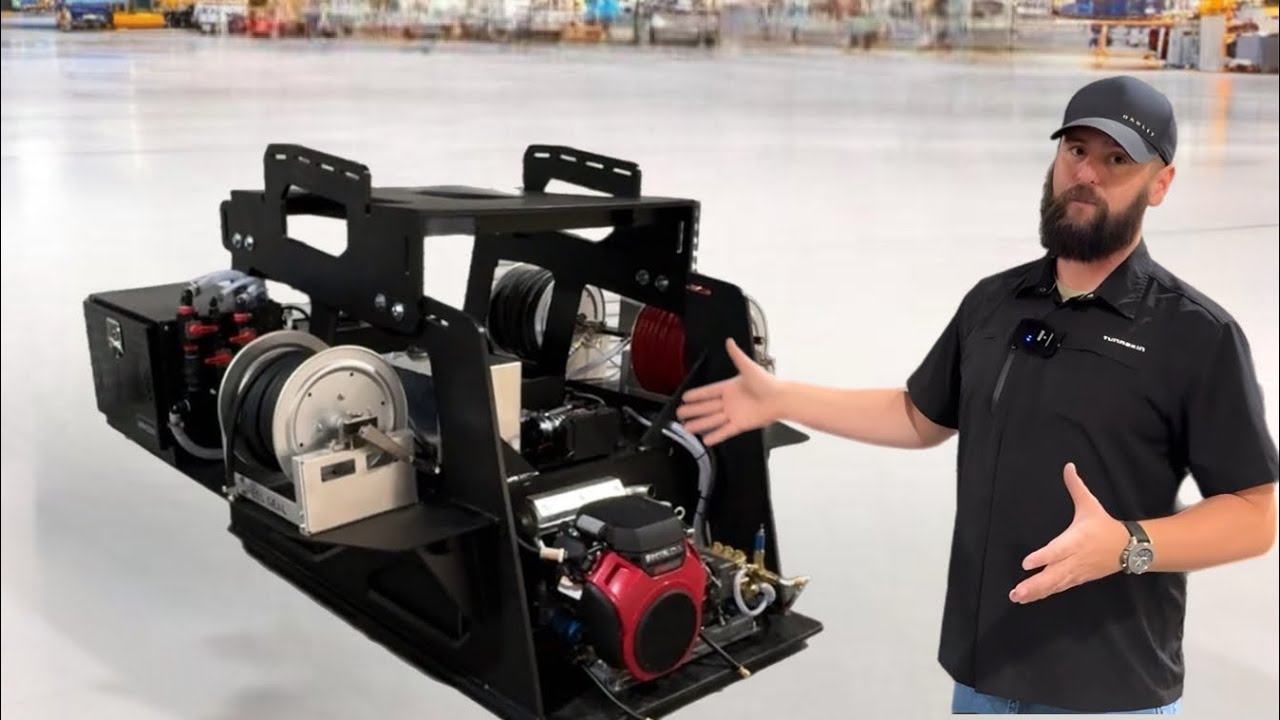
For this job, we used:
-
A 10 GPM (gallon-per-minute) commercial-grade pressure washer
-
A 24-inch surface cleaner
🧠 Rule of Thumb: You need about 4 inches of surface cleaner width for every gallon per minute your machine pushes.
So with 10 GPM, a 24" surface cleaner is perfect.
Why it matters:
-
Bigger surface cleaners clean more area, faster
-
High GPM ensures consistent pressure across the surface
-
Don’t overdo the PSI—you’re not trying to blast the surface, just clean it
The goal here is even, consistent passes without leaving pressure lines or etching the driveway. On exposed aggregate, this gets tricky—more on that next.
💦 Step 3: The Rinse — The Most Important Step
Most people underestimate the importance of rinsing. But if you’re cleaning exposed aggregate or any decorative concrete, rinsing is where the job is made or broken.
Why it’s crucial:
-
Aggregate holds dirt in the tiny nooks between gravel
-
If the surface dries with dirt still on it, it will stain again instantly
-
Poor rinsing = callbacks, unhappy customers, and wasted time
✅ Best Practice:
Work in small sections or “blocks” on hot days.
Surface clean one section, then rinse it immediately before moving on.
This keeps your results sharp and avoids re-cleaning. On hot concrete, chemicals and dirt dry fast, so your rinse must follow closely behind the surface cleaner.
🎓 Want to Learn Pressure Washing the Right Way?
If you’re new to the game and trying to figure out equipment, surfaces, safety, and chemical mixing, the SESW Softwash 101 class is a must-take course. It’s designed to give beginners a full overview of:
-
Proper cleaning techniques
-
Surface types and sensitivities
-
Softwash vs. pressure wash safety
-
Common mistakes that kill jobs
👉 Whether you're a future business owner or just want to stop damaging your property, Softwash 101 from SESW is where you should start.
For those who are ready to go deeper, take a look at the How to Wash Course. This is a pro-level course on:
-
Full house washing process
-
Driveway, roof, and surface cleaning
-
Property protection and staging
-
Commercial-level insights for scaling your business
Both of these courses complement each other—Softwash 101 for your foundation, and How to Wash to master the game.
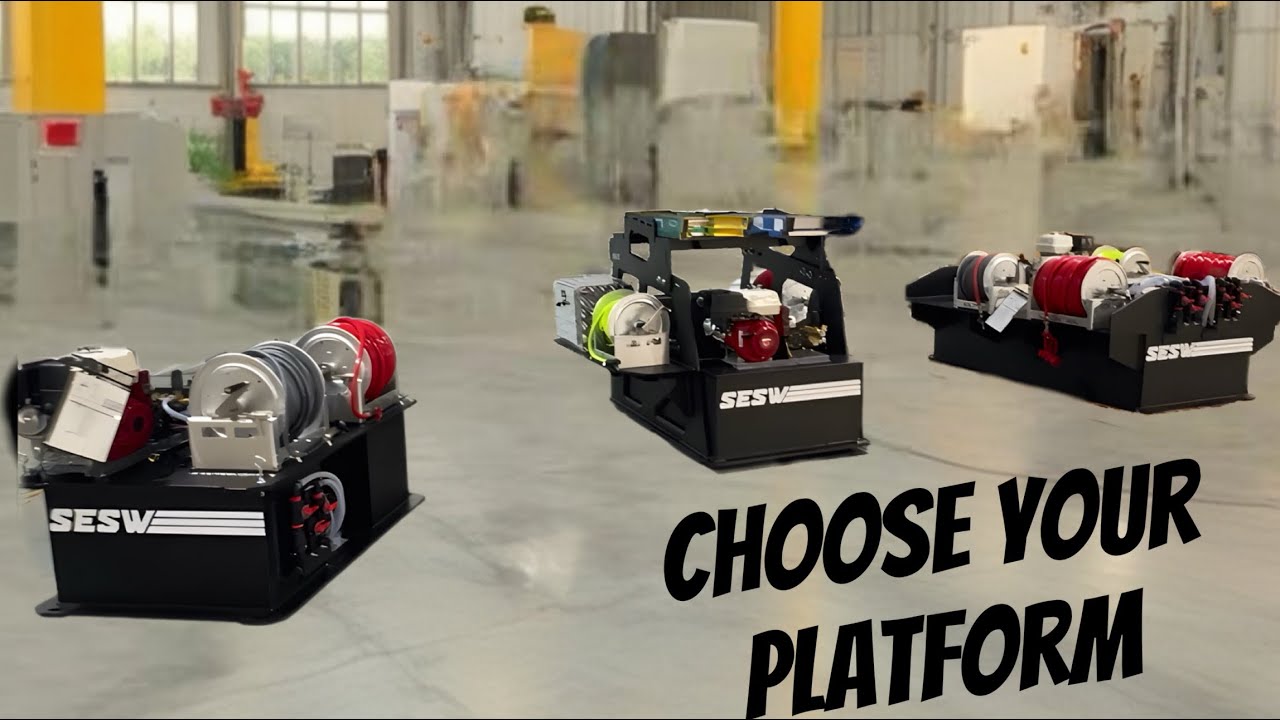
🔧 Tools & Equipment Used in This Job
-
Pressure Washer: 10 GPM commercial unit
-
Surface Cleaner: 24” model (a beast!)
-
Chemical Mix: ~4% Sodium Hypochlorite (SH)
-
Nozzles: Properly sized to avoid over-pressuring the surface
-
Rinse Wand: For targeted, full-surface rinsing
👇 Let’s Recap the 3 Steps:
-
Pre-treat with SH mix – Kills organics and softens buildup
-
Surface clean with the right GPM and size – No etching, no lines
-
Rinse thoroughly, in sections – Especially important for exposed aggregate
👍 Final Thoughts
This guide is meant to be quick, effective, and complete—especially for new pressure washers or DIY homeowners. If you:
-
Understand the importance of chemical pre-treatment ✅
-
Know how to choose the right surface cleaner ✅
-
Understand the need for strategic rinsing ✅
Then you’re well on your way to cleaning driveways like a pro.
👇 Let me know in the comments: Did this video cover it all for you? Or do you want a part two diving deeper into techniques or business tips?
If you’re ready to level up, check the links in the description and comment section for both:
-
The How to Wash Course from Lean and Mean Academy
I’ll see you guys in the next video!