


he Art of Driveway Sealing with Water-Based Sealant
Sealing a driveway might seem like a straightforward task — until you're standing in front of 1,000 square feet of concrete with a sprayer in hand and no margin for error. Whether you’re a weekend DIYer or building a pressure washing and sealing business, understanding the proper techniques for water-based sealant application is critical to avoiding expensive re-dos and preserving your client’s property.
In this guide, we’ll walk you through a real-world job scenario and share spray patterns, edge control tips, and expert insights that could save your next job. Plus, we’ve included a special bonus at the end: the full breakdown of labor, material, and tool costs for the project. Ready to level up?
Why Your Spray Pattern Matters (A Lot)
When it comes to water-based sealants, achieving a uniform coat is everything. But if you oversaturate or apply unevenly — especially on a slope — the sealer can run, dry poorly, or damage surrounding areas. As mentioned in the field, “If we don’t figure out the right spray pattern to get this done properly, we’re going to be in deep data.”
🎯 Rule #1: Always Test First
Before applying any sealer to a wide surface, do a test spot. This helps you dial in the spray pattern, confirm adhesion, and ensure there’s no flooding near delicate edges or home siding.
Spray Technique 101: The Cone Method
Ben, one of the field experts, recommends using a cone spray pattern — almost fully locked out, but controlled. Here’s the technique in a nutshell:
-
Spray distance: Stay 6 inches to 1 foot off the surface.
-
Motion: Use slow, circular motions to build an even coat.
-
Overlap: Maintain a 25% overlap to avoid striping and ensure consistency.
-
Edge awareness: Avoid flooding near the edges, especially against walls or trim.
Pro Tip: Be extra cautious on sloped surfaces. A heavy application can cause runs, which dry unevenly and leave visible lines in your finish.
Edge Control: Avoiding Flood-Outs
A big rookie mistake when using rollers? Pressing down near the house. Don’t do it. That forces too much sealer out at once, causing flood-outs that run onto walls, garage doors, or adjacent surfaces. Light pressure and proper cut-in techniques make all the difference.
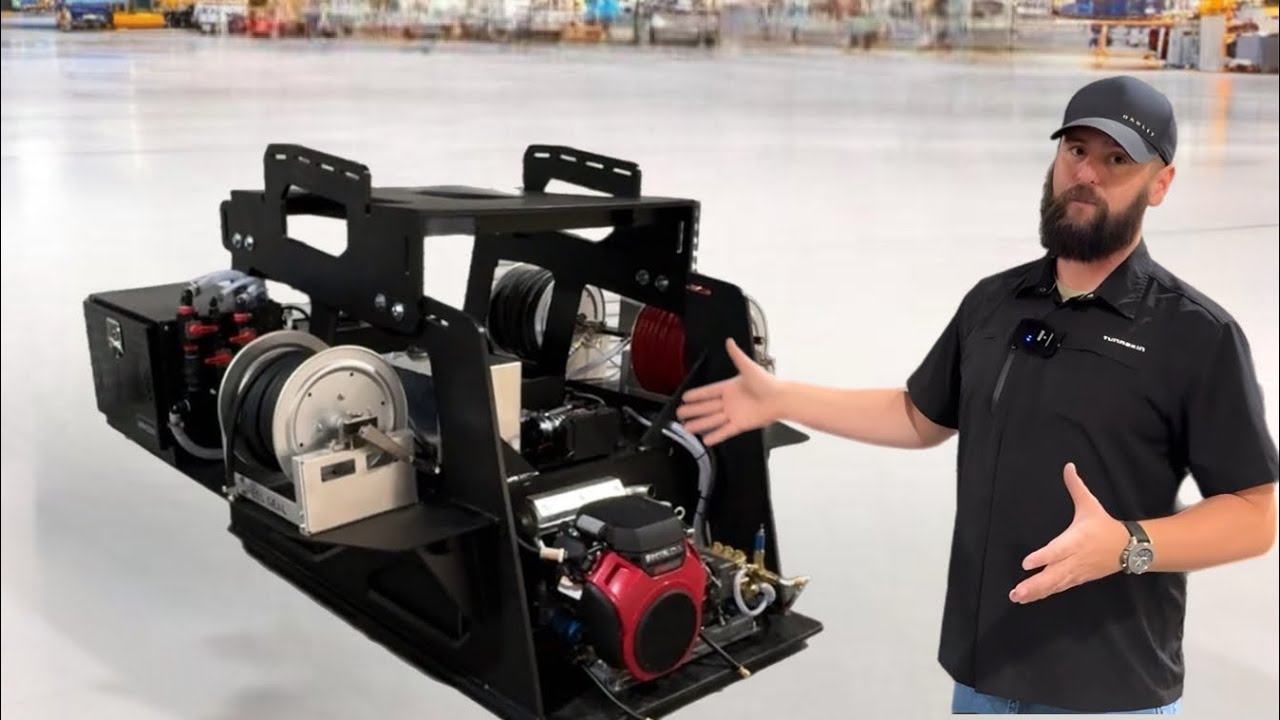
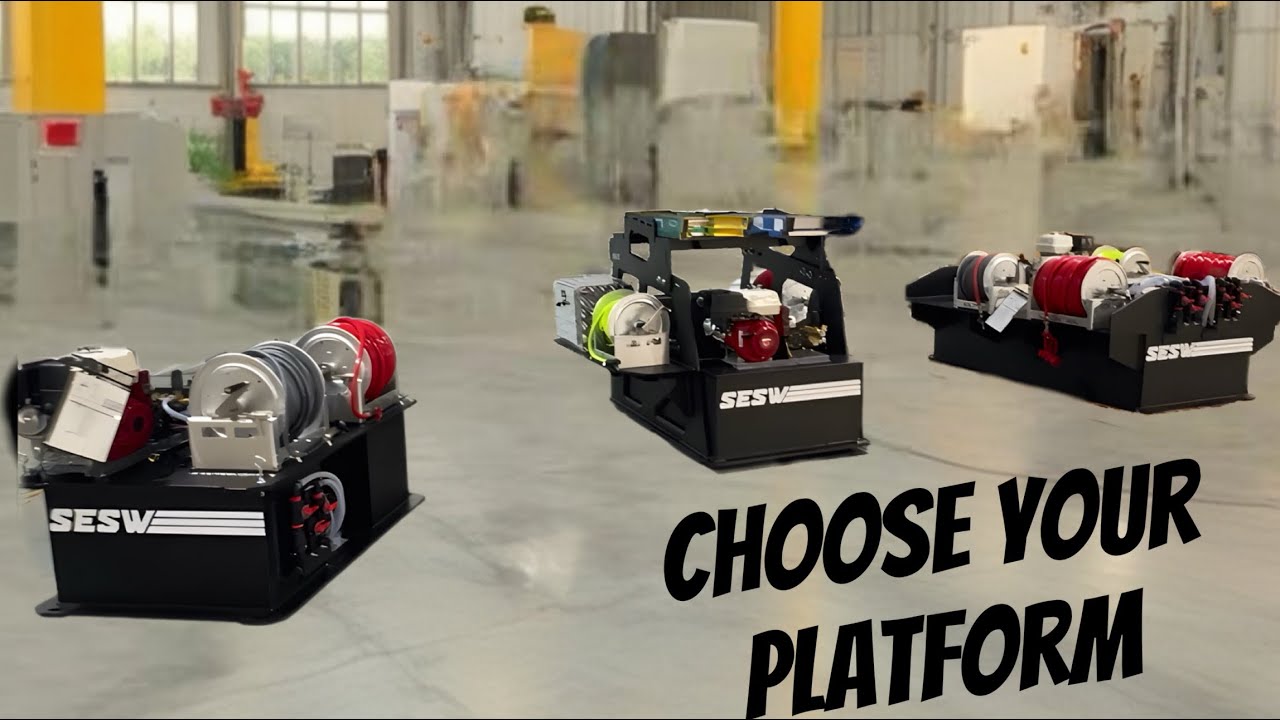
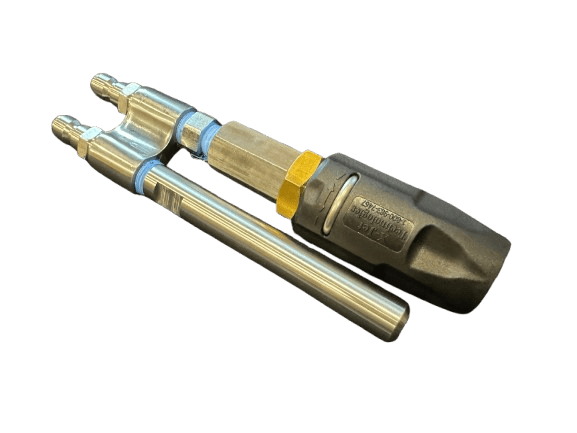
Tools of the Trade: What You Need to Get It Done
Here’s a quick list of essential tools and accessories used on the job:
-
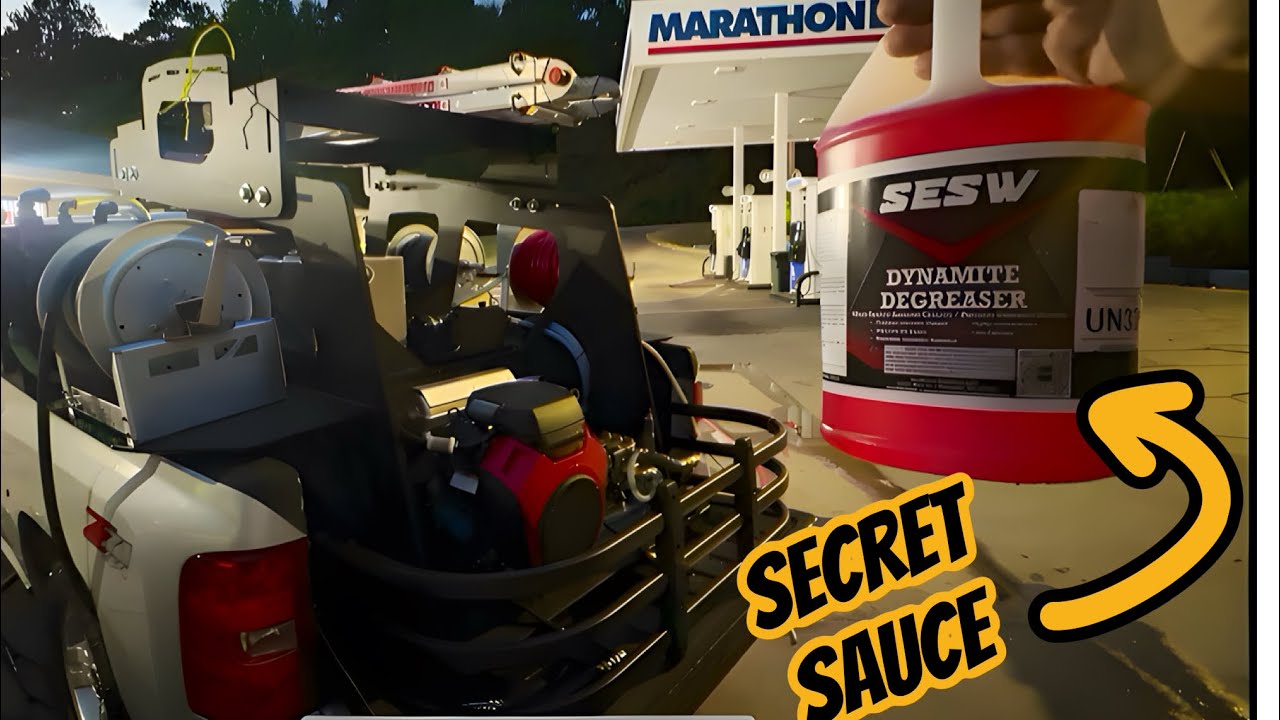
Water-based sealant sprayer (likely disposable after a heavy project)
-
Cone-tip spray nozzle
-
Venetian cardboard for edging
-
Rollers for tight spaces
-
Protective plastic for doors and edges
-
Pre-taped cut boards for straight lines and aggregate separation
Cutting Near Aggregate? Go Acrylic
When sealing near exposed aggregate, it’s often better not to apply water-based sealant directly over it. Instead, go back in later with acrylic sealer for better adhesion and finish control. This avoids poor bonding and ensures a more polished final look.
🚨 BONUS: Want to Nail Jobs Like This Every Time?
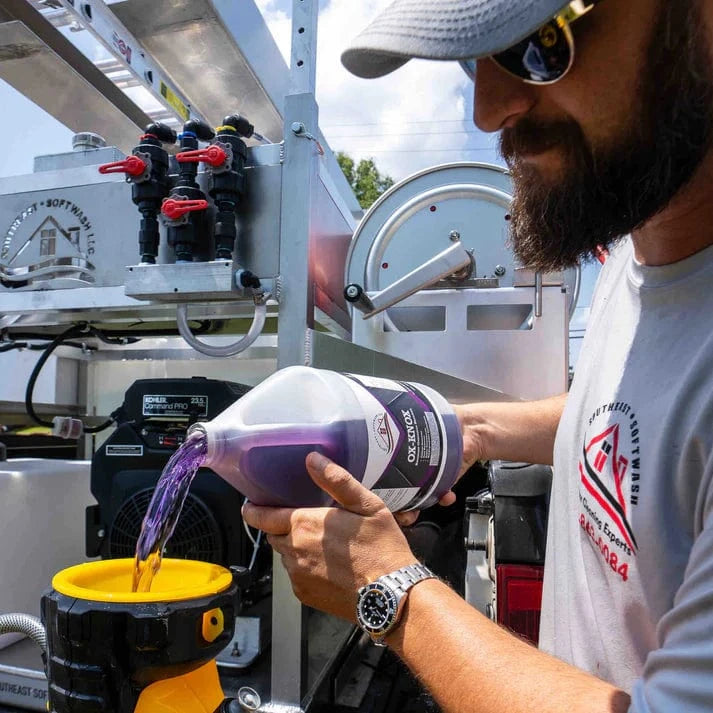
Before we dive into the cost breakdown, here’s a major tip — if you’re getting into the exterior cleaning business or looking to tighten up your techniques, check out the SESW Softwash 101 class.
Taught by industry leaders from Southeast Softwash, this foundational course is packed with:
-
How to mix and apply cleaning solutions safely
-
Equipment and proportioner training
-
Surface-specific washing pressure
-
Liability mitigation and client protection
-
Real-life job walk-throughs from seasoned pros
Whether you're sealing driveways or cleaning roofs, Softwash 101 gives you the professional foundation that will help you avoid costly mistakes and build a scalable, profitable business.
🎓 Softwash 101 is the best investment you can make if you're serious about success in this industry.
Cost Breakdown: Real-World Driveway Sealing Job
As promised, here’s what you can expect on a driveway sealing job like the one described:
-
Sealant Used: ~X gallons (depends on square footage and surface porosity)
-
Labor Time: 4–6 hours (depending on slope and surface condition)
-
Materials/Tools:
-
Sprayer: $40–$80 (single-use expected)
-
Edge guards, rollers, cardboard, etc.: $30–$50
-
Sealant: Varies by brand and coverage (~$150–$200)
-
Estimated Total Cost: ~$250–$350
Recommended Job Charge: $800–$1,200
Profit Potential: $500–$900+
Final Thoughts: Precision Equals Profit
Driveway sealing is a high-demand, high-margin service — if you know what you're doing. The key is precision in spray technique, surface prep, and product application. And if you’re looking to grow your business fast and professionally, there’s no better next step than enrolling in Softwash 101.
🔥 Learn from the best. Avoid rookie mistakes. Start strong.
📌 Click here to learn more about SESW’s Softwash 101 training
🎥 And don’t forget to watch the full video for the complete job walkthrough!