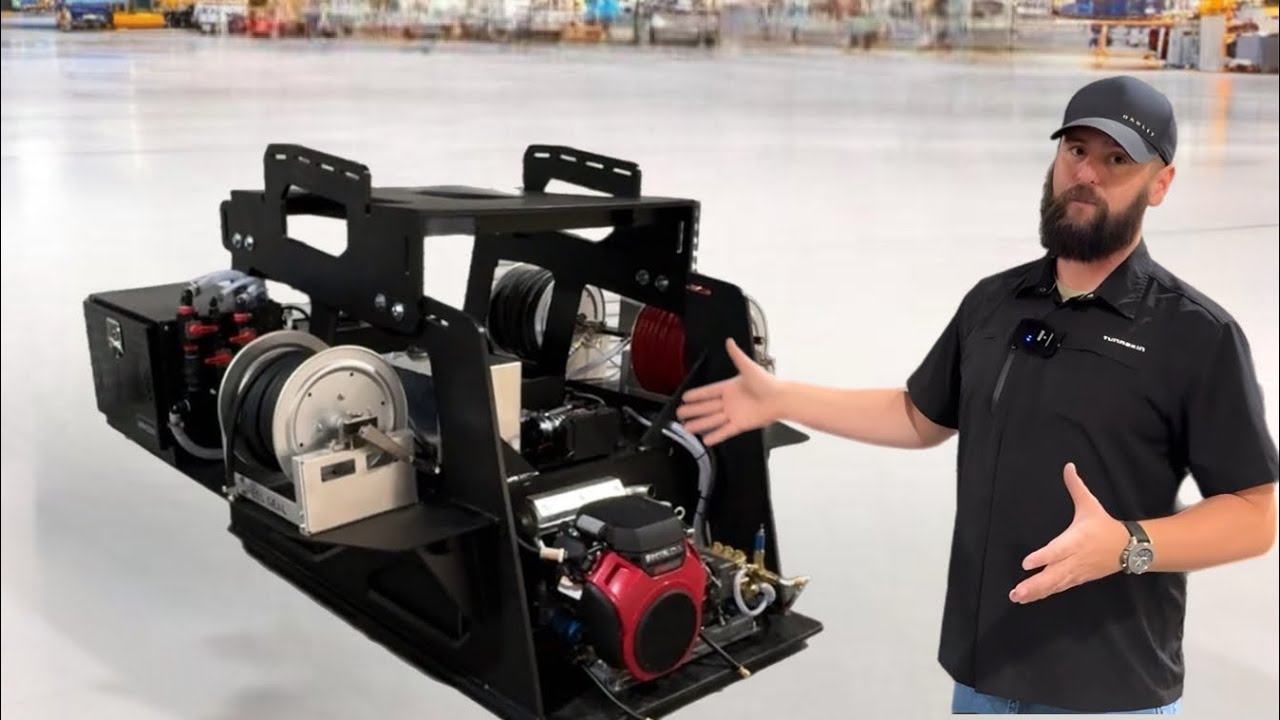
Hey everyone, welcome back to the channel! Today, I'm excited to delve into the world of buffer tanks and share some key insights that can transform your pressure washing operations. I've recently completed a comprehensive course titled "How to Build a Rig," designed for those ready to join the pressure washing industry or enhance their existing setup. This course is perfect if you're considering building your equipment, especially if a turnkey system isn't within reach.
In this video series, I'll cover the basics of soft washing and pressure washing, using a whiteboard to clarify concepts. You might hear my German Shepherd in the background, but let's focus on the main topic: buffer tank basics.
Why a Buffer Tank is Essential
When you move up from homeowner-grade pressure washers to professional-level equipment (around 5 gallons per minute or more), a buffer tank becomes crucial. The misconception is that you carry all the water to the job site in this tank. In reality, it serves as a standby reservoir to compensate for any shortfall between your water source and the pump's requirements.
Choosing the Right Size
For larger pressure washers, a 200-gallon tank is a good standard. It's sufficient for an 8-gallon-per-minute machine. Avoid going overboard with massive tanks unless you're in a very niche market. A 100-gallon tank is fine for a 5-gallon-per-minute machine, while a 200-gallon tank suits an 8-gallon machine.
Importance of Filtration
You'll want to filter the water going into your tank to prevent debris from reaching your pressure washer or soft wash system. We recommend installing a filter like our 1-inch option at the incoming hose to keep the tank clean.
Bypass System Setup
The bypass system is key for when the pressure washer isn't actively spraying. This setup recirculates water back to the tank, keeping the pump supplied with cool water and preventing overheating. Make sure to direct the bypass water across the tank to avoid creating turbulence at the pump's intake.
Air Gap and Cavitation Considerations
Some local regulations might require an air gap to prevent backflow into the city's water system. Use a Hudson valve or similar for an automatic shut-off, ensuring compliance and maintaining an air gap. Remember, cavitation caused by air in the system can damage your pump, so always monitor your water level.
Feeding the Pressure Washer
Position your feed bulkhead at the bottom of the tank to assist in priming the pump. This placement utilizes gravity to help the pump start more efficiently, especially important for larger gear or belt-driven systems.
I hope these tips give you a better understanding of buffer tanks and their critical role in pressure washing setups. Stay tuned for more whiteboard tutorials in this series, and don't forget to check out my course, "How to Build a Rig," for an in-depth guide on assembling your equipment. Happy washing, and see you in the next video!


